Build a basic Flask app with Neon in 5 minutes
Nearly all web applications require you to take input from a user, save it, and display it back to that user.
With web frameworks like Flask, Express, Spring, Rails and many others, handling the frontend and backend is easy enough, but often it takes significant effort to set up a database to persist user data. And even if you invest the time, database hosting is often the most expensive part of any hosting bill.
Neon is a new serverless Postgres database that:
- Makes it ridiculously easy to get from account signup to a new Postgres database connection string (four clicks)
- Gives you a significantly cheaper way to host your Postgres database (currently free).
Let's spend 5 minutes to build a very simple Flask web application that can accept input from a user, store it, and display it back again. You should be able to easily adapt this tutorial to any other web framework you prefer.
Signing up for Neon and getting a database
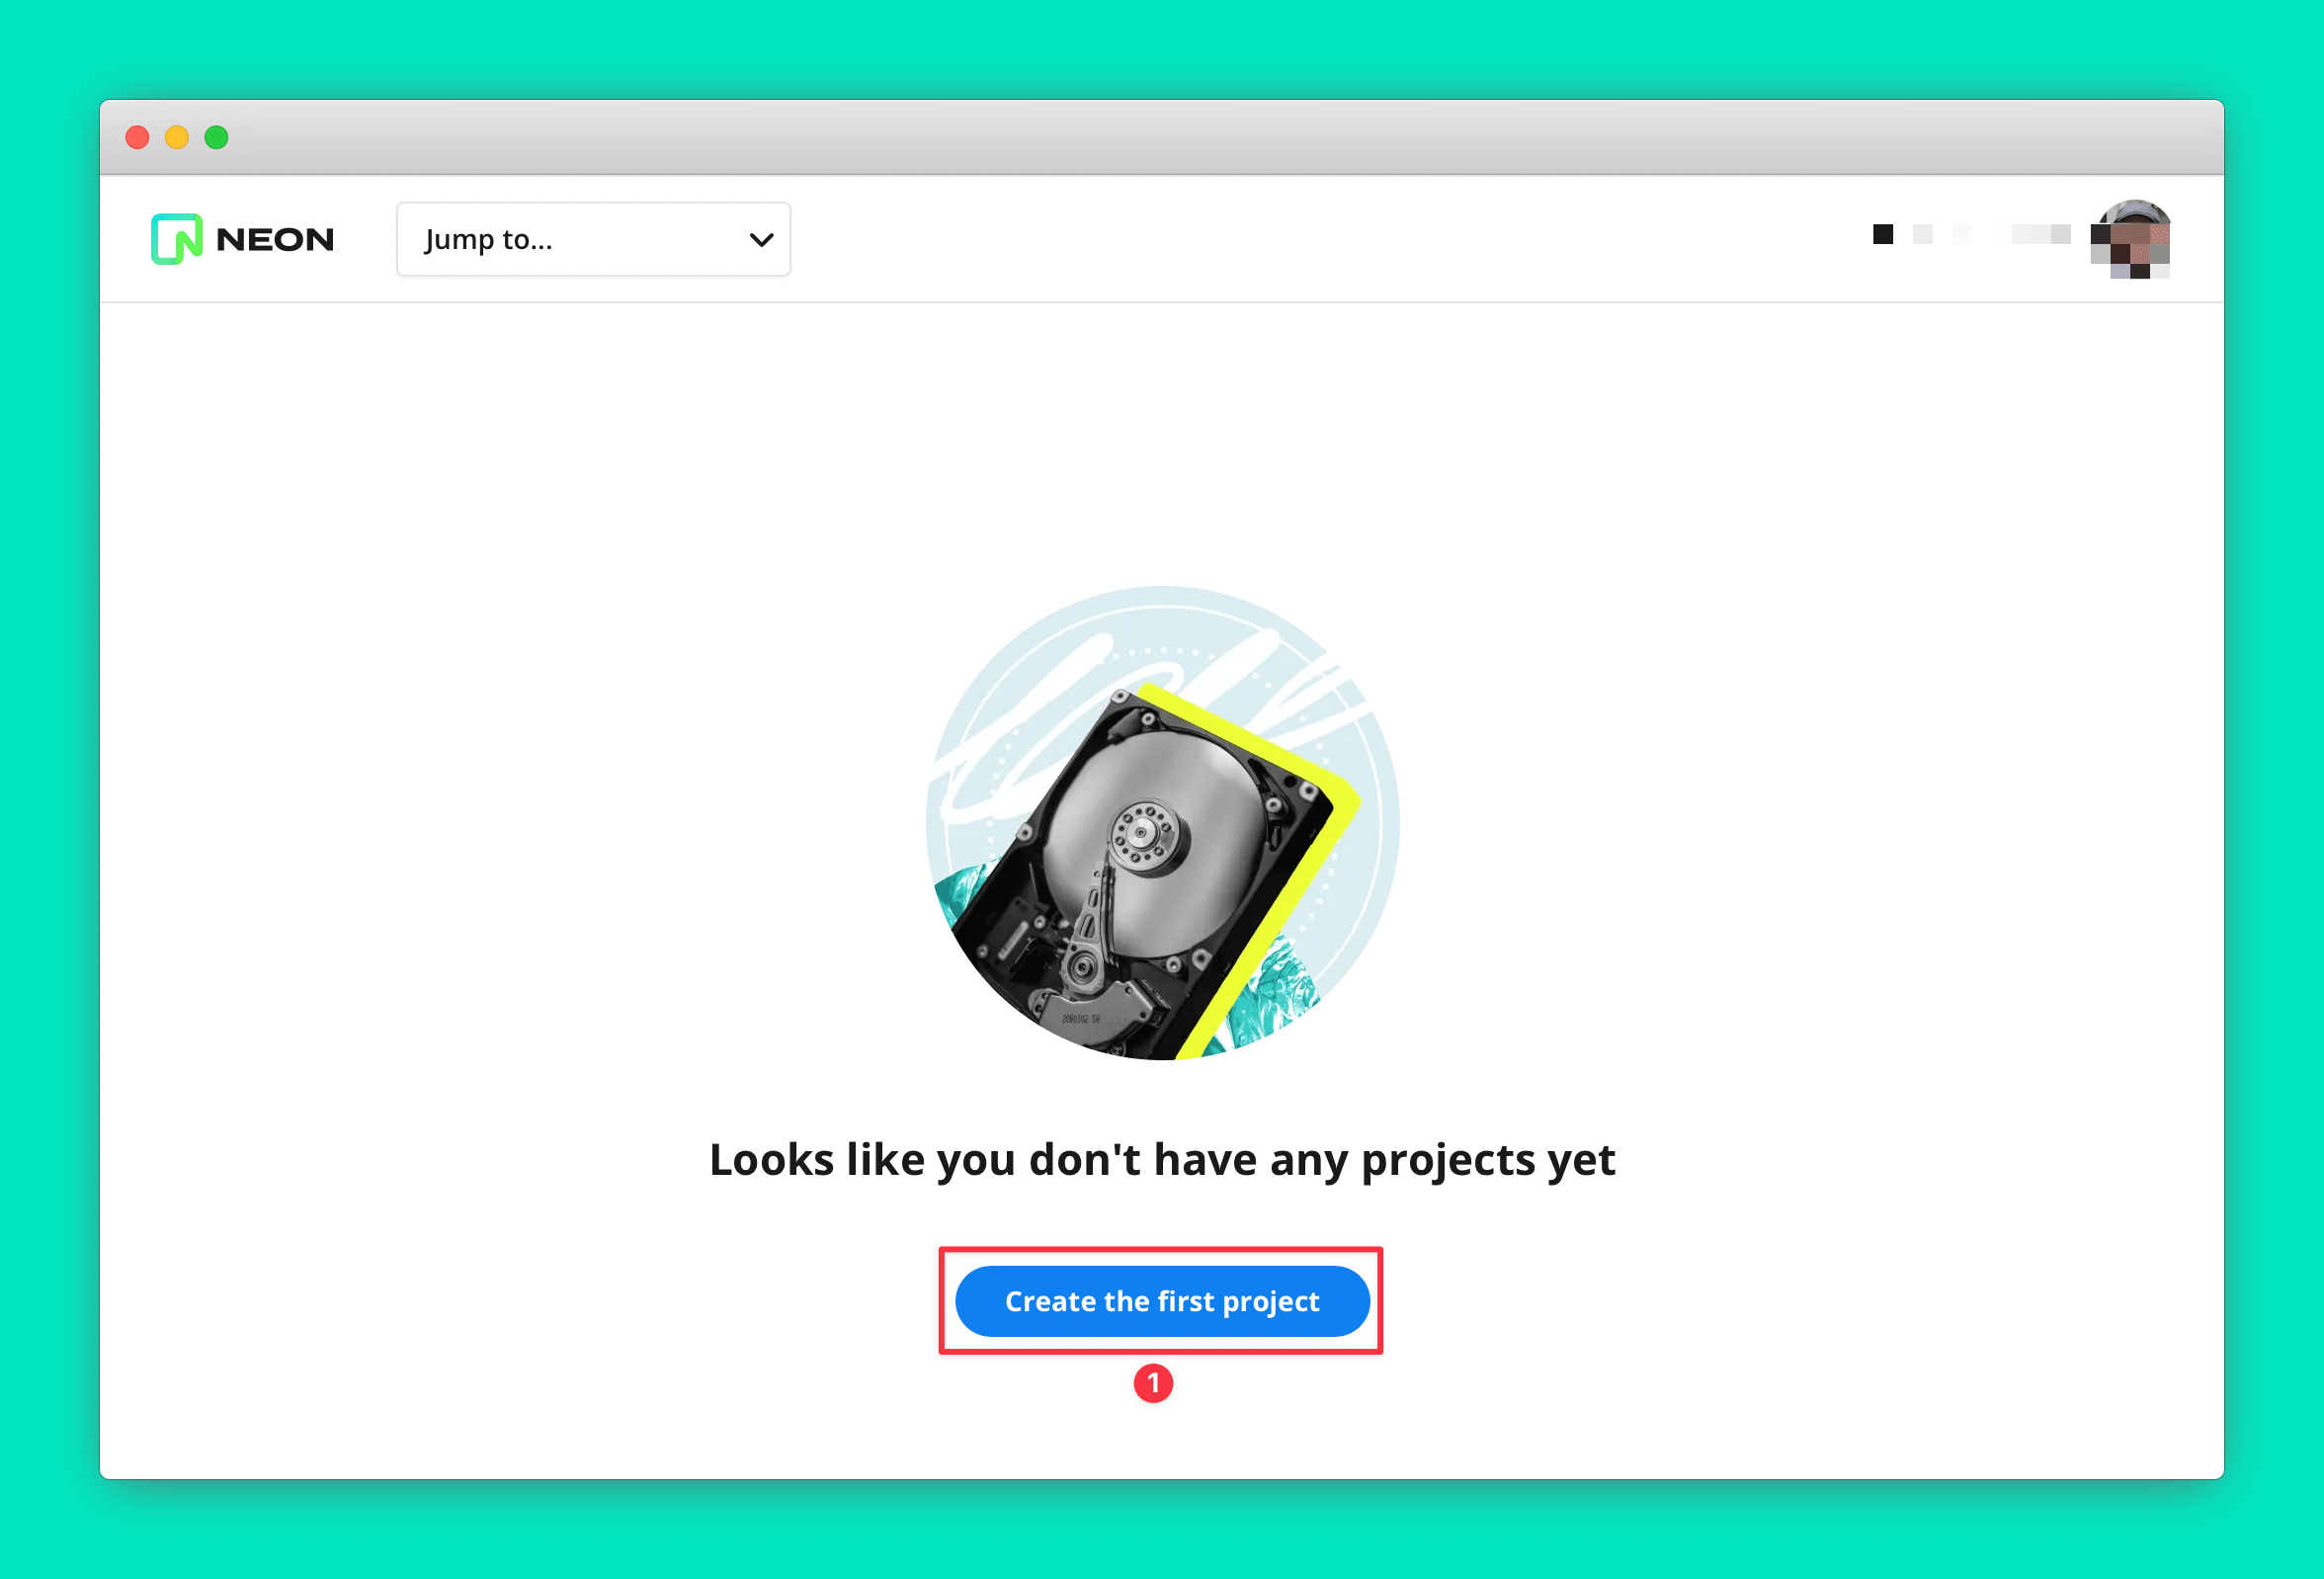
- Sign up at Neon
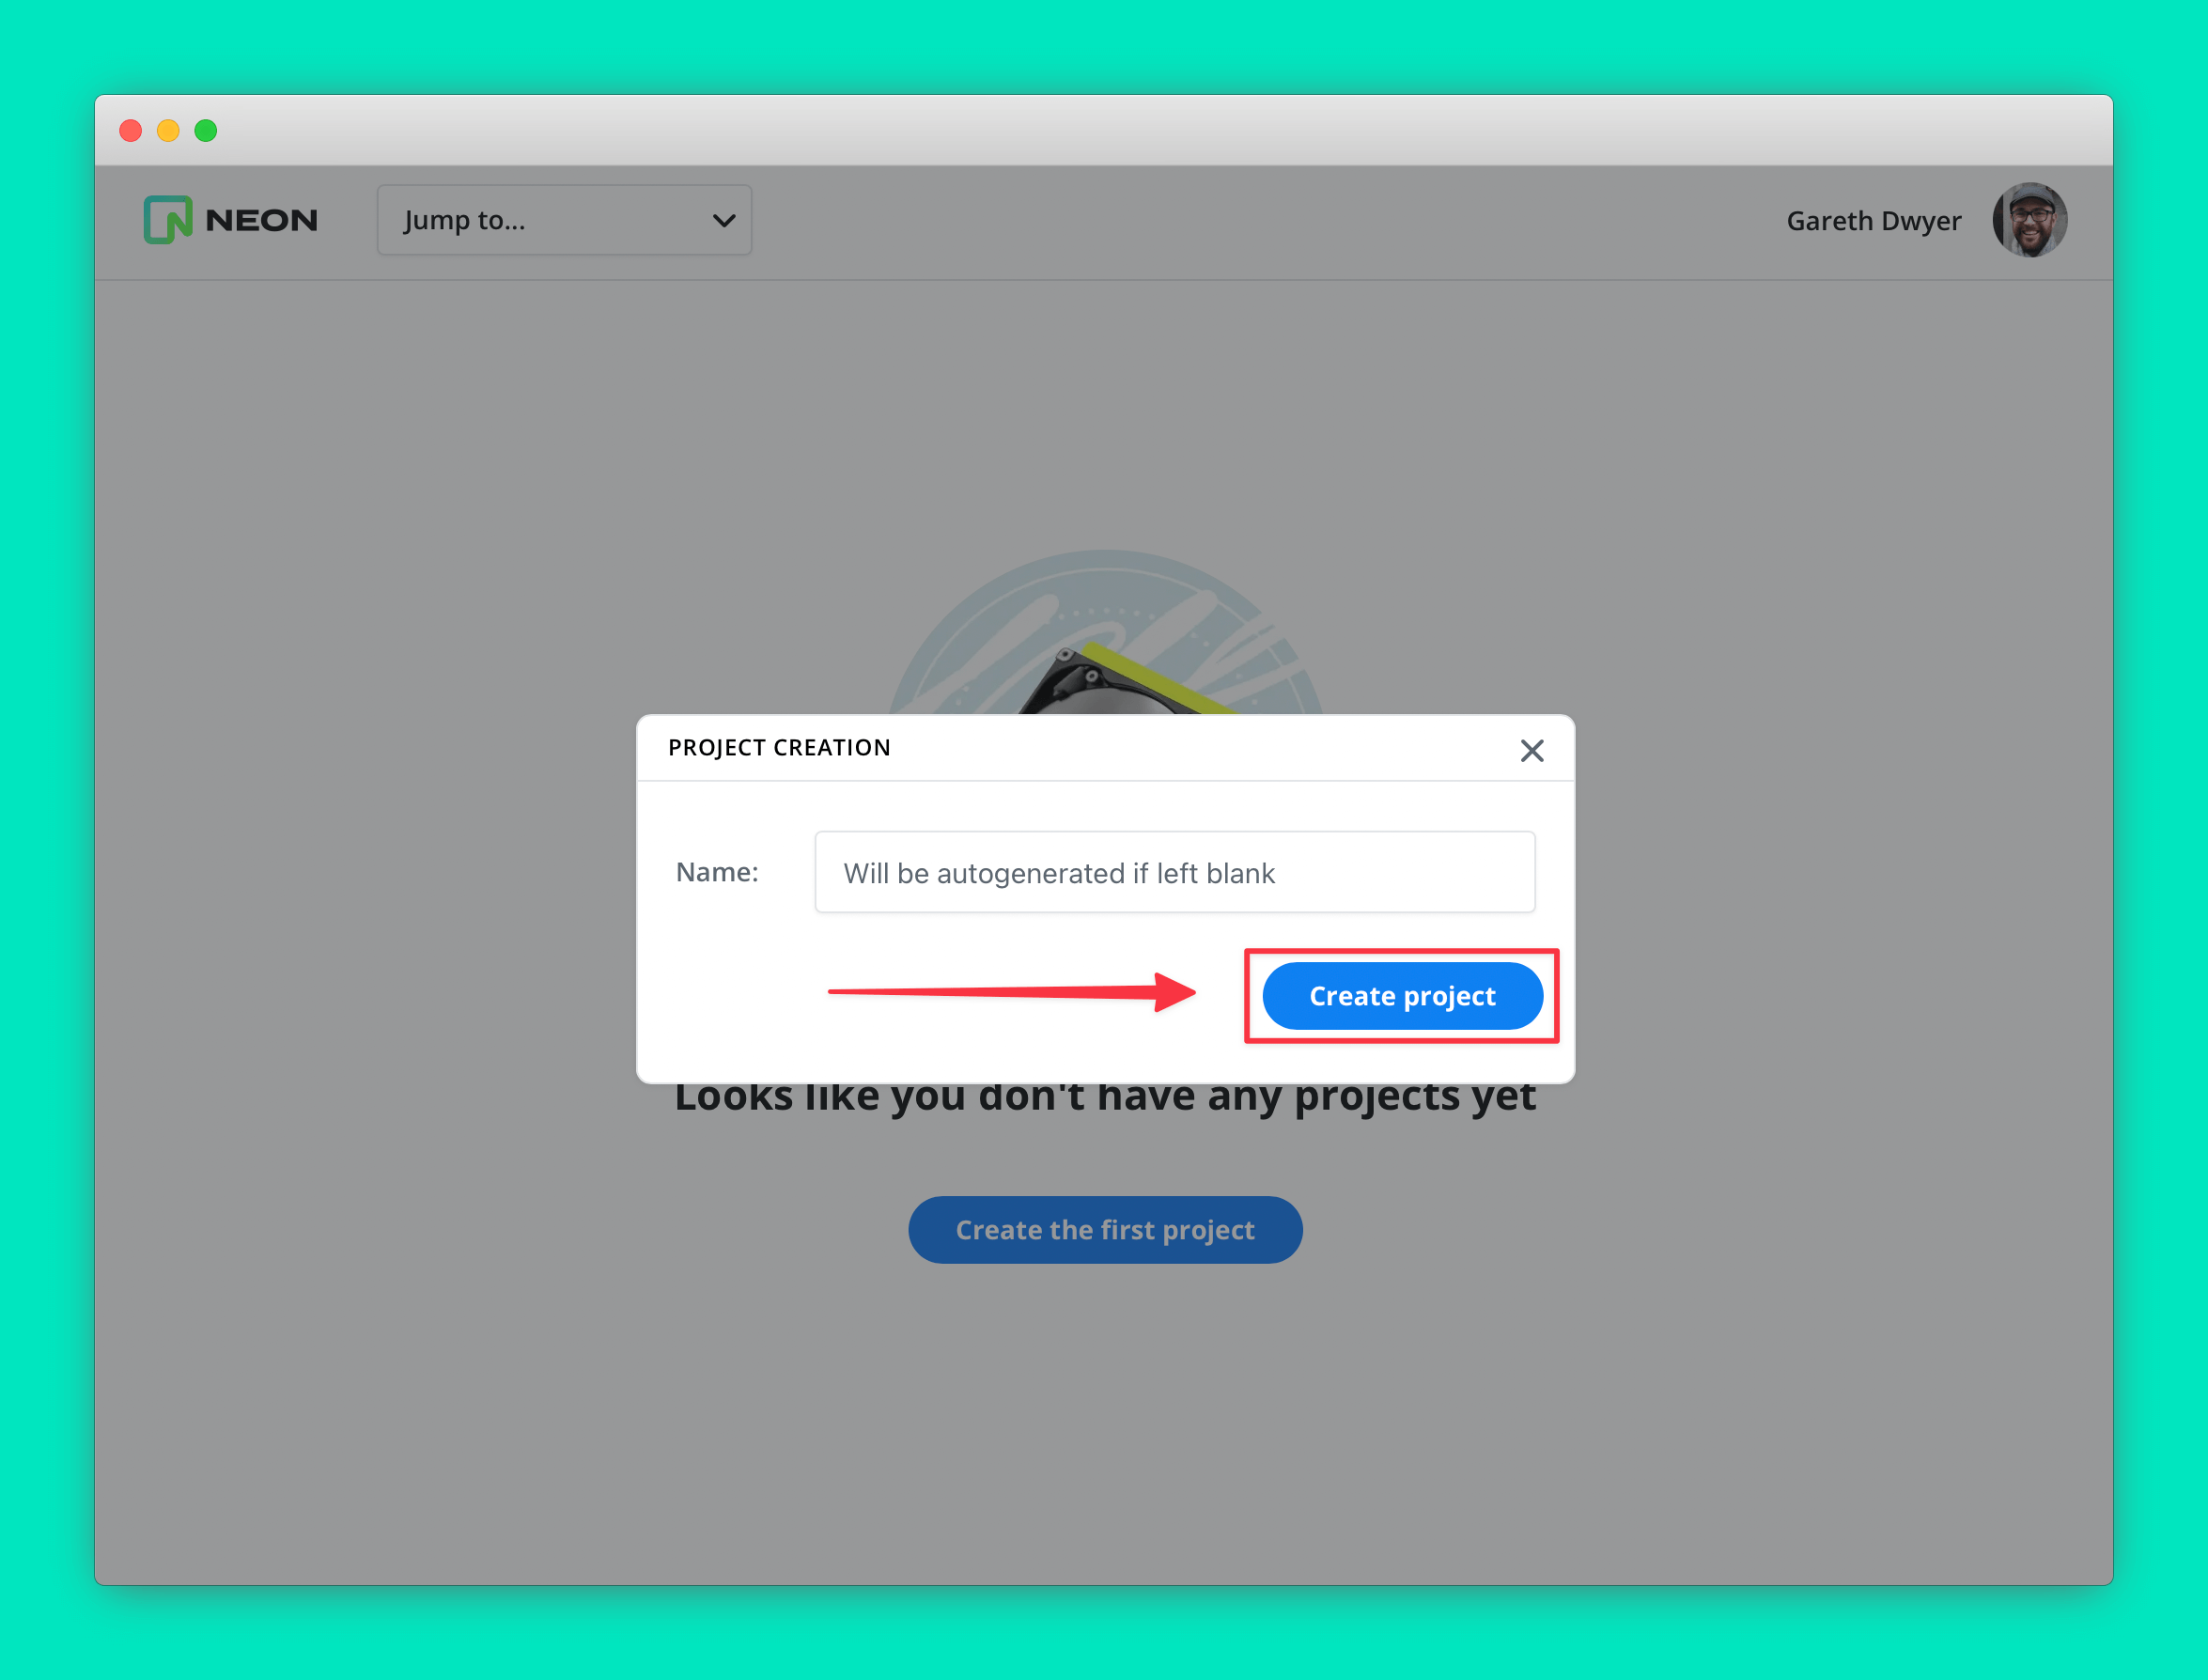
- Click "Create the first project".
- Confirm the auto-generated project name.
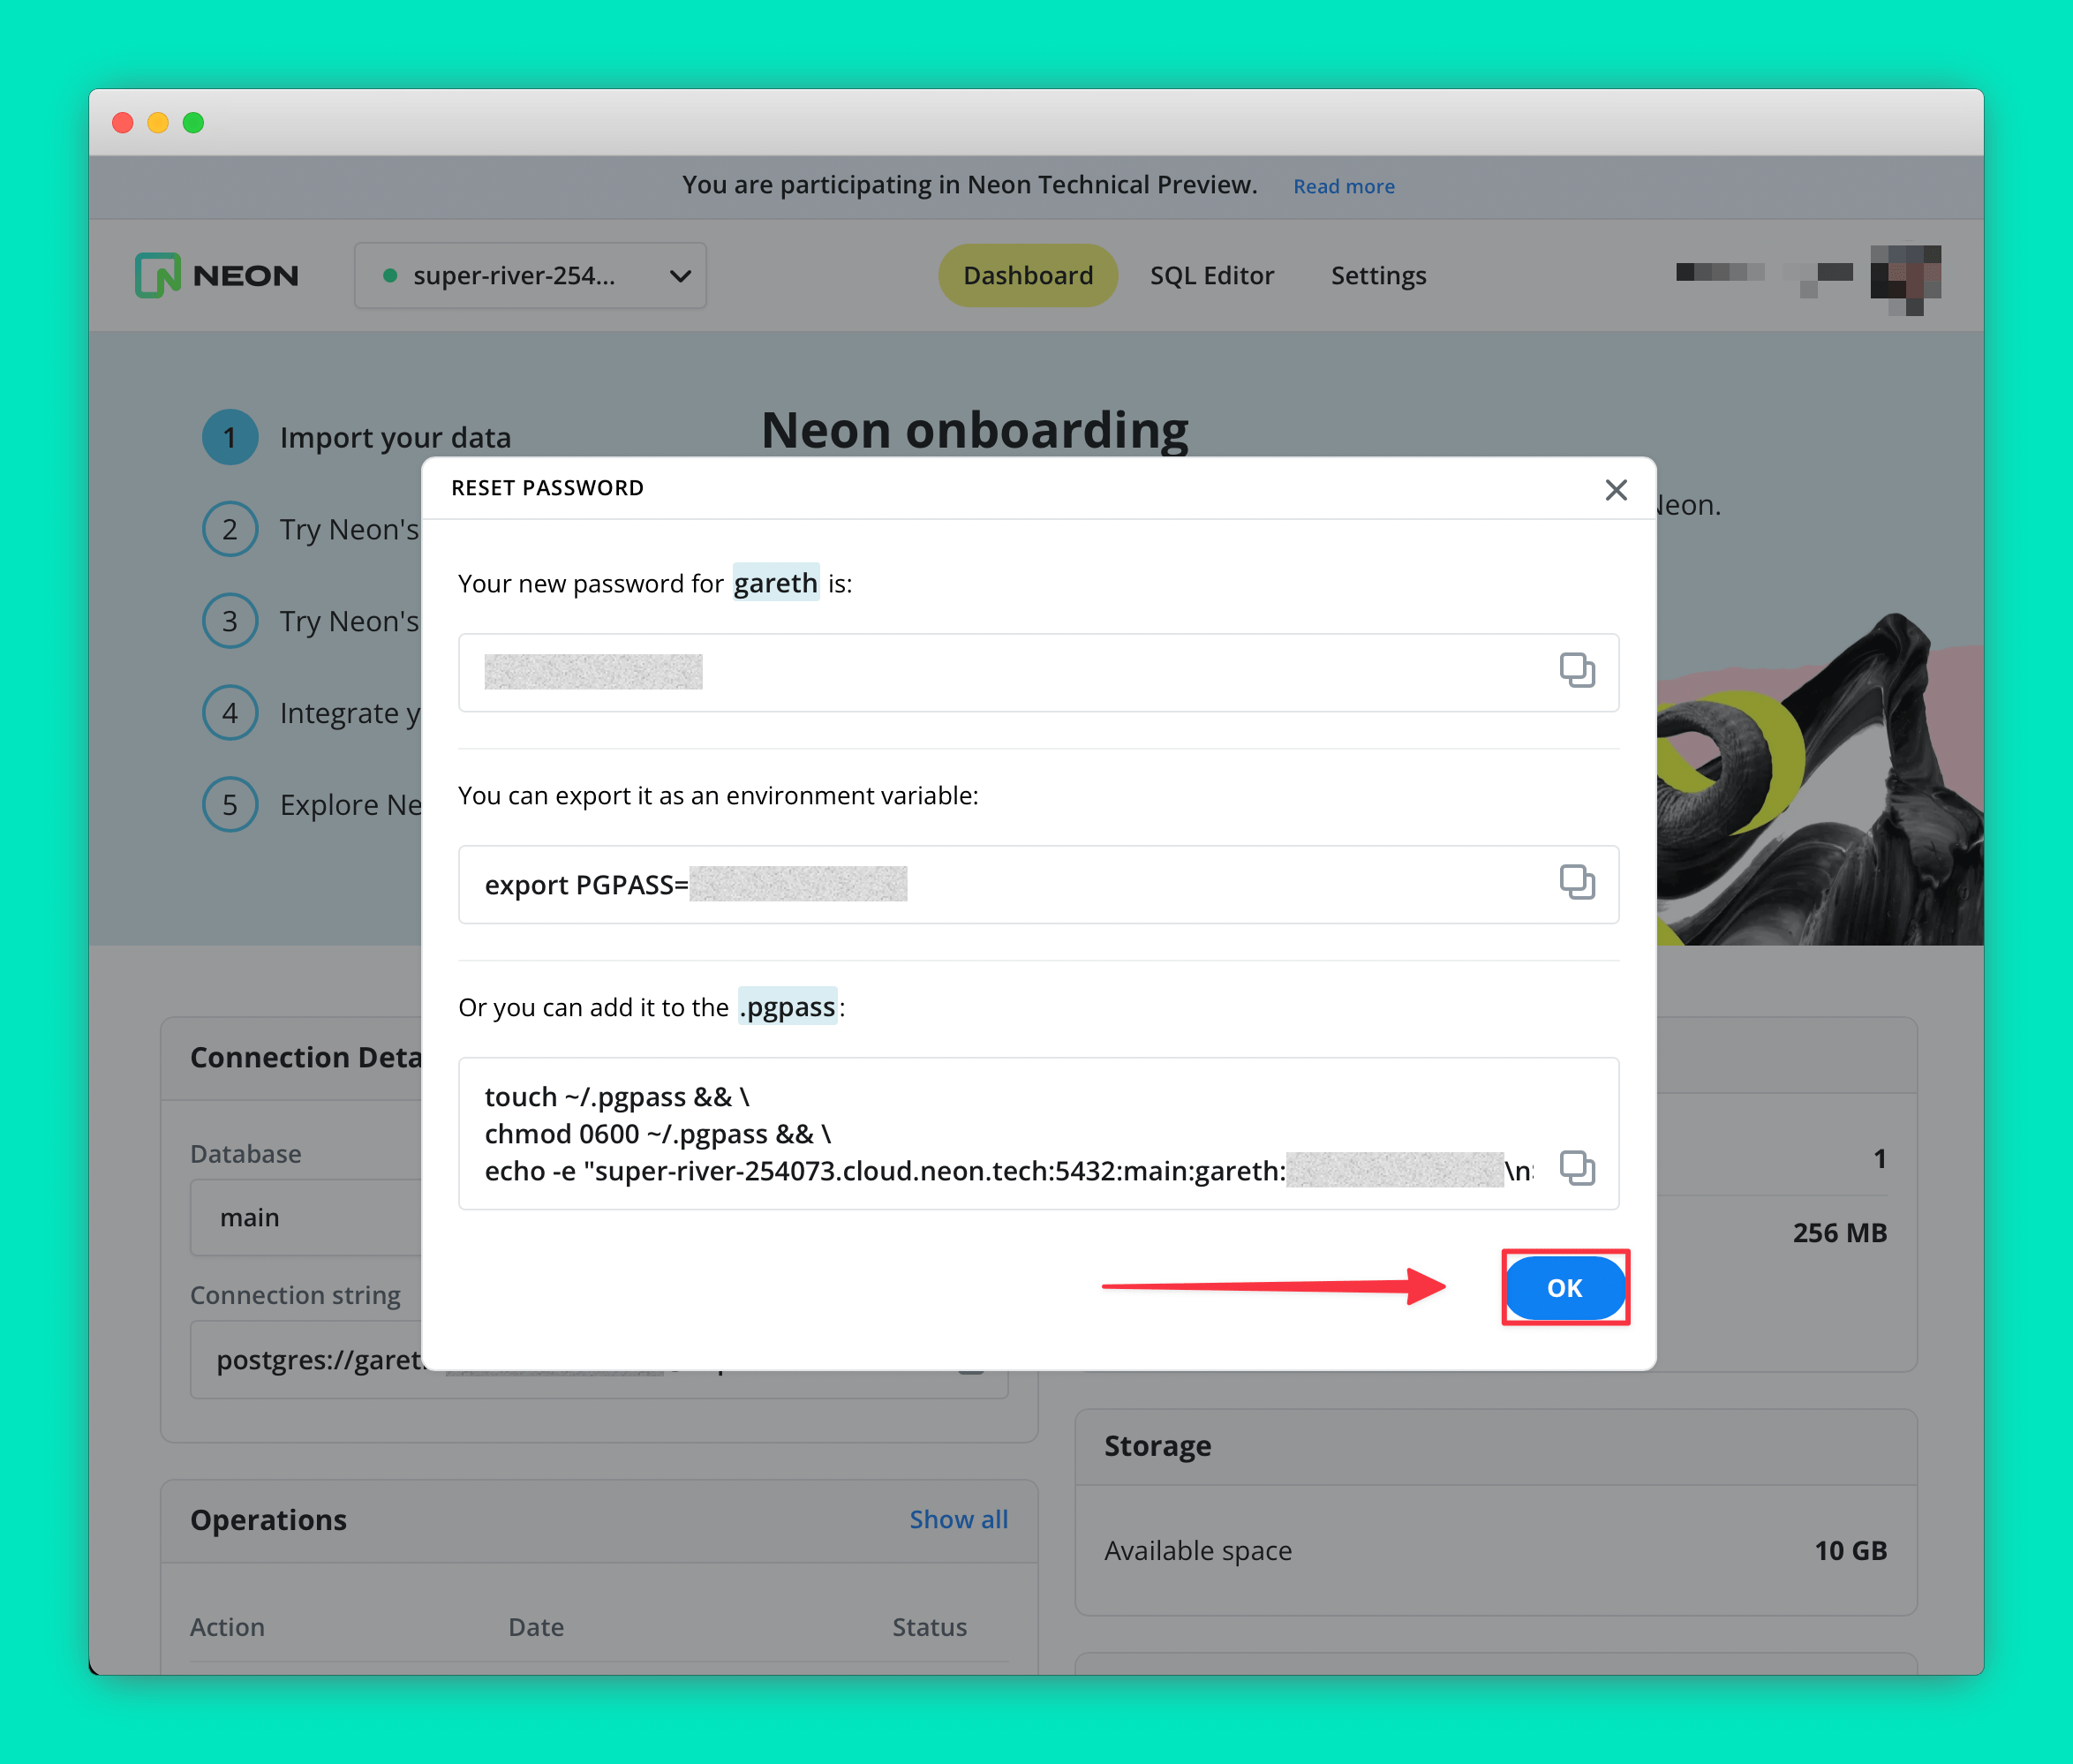
- Close the config summary screen.
- Click the "Copy" icon next to "Connection string"
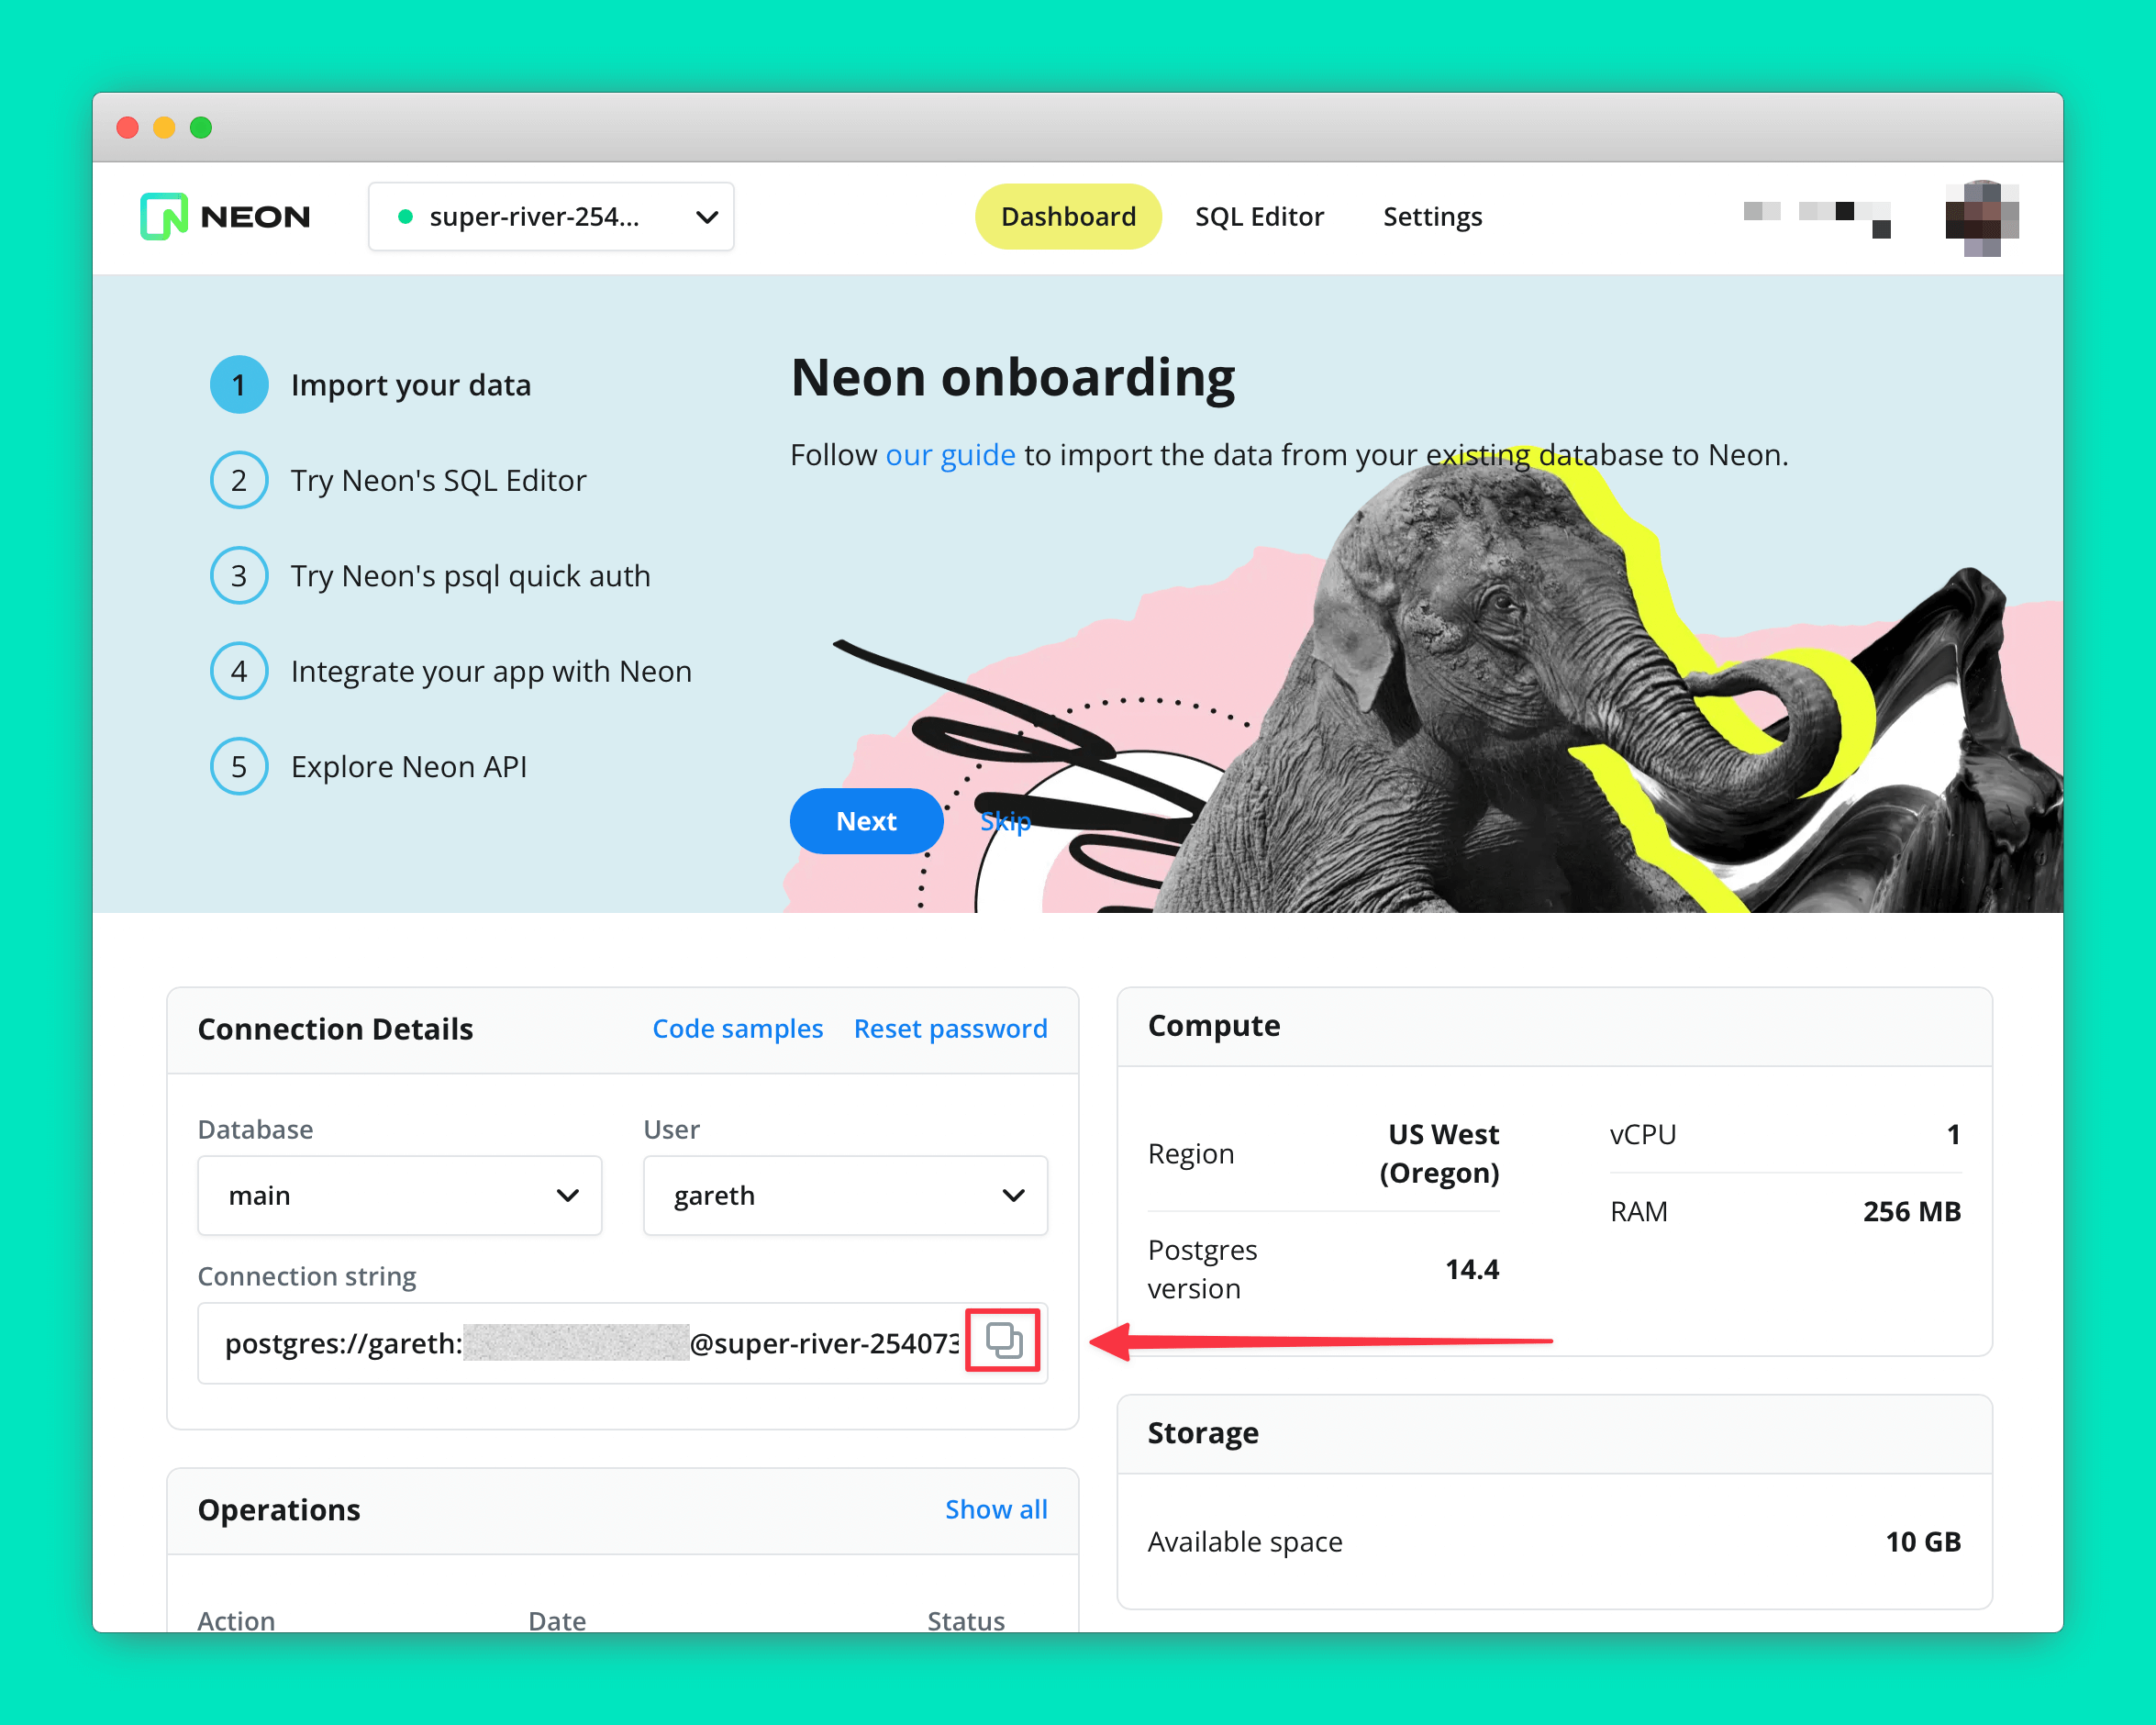
That's it. You don't need anything else from Neon to build a fully functional application.
Building the Flask app
We'll skip some best practices here to make the demonstration easier to follow, like hard coding our connection string in our application code and putting all our code in two files. Don't do this for anything you care about.
- Create an
app.pyfile in a project directory with the following code. Paste the connection string you copied in place of thepostgresql://xxx.string inapp.configand note that it should start withpostgresql, notpostgres.
from flask import Flask, request, render_template
from flask_sqlalchemy import SQLAlchemy

app = Flask(__name__)

app.config[
    "SQLALCHEMY_DATABASE_URI"
] = "postgresql://xxxxxxxxx:xxxxxxxxxxxx@xxxxxxxxxxxxx.cloud.neon.tech:5432/main"

db = SQLAlchemy(app)


class Book(db.Model):
    book_id = db.Column(db.Integer, primary_key=True)
    title = db.Column(db.String)


db.init_app(app)
db.create_all()


@app.route("/", methods=["GET", "POST"])
def home():
    if request.method == "POST":
        title = request.form.get("book")
        book = Book(title=title)
        db.session.add(book)
        db.session.commit()
    books = Book.query.all()
    return render_template("index.html", books=books)


if __name__ == "__main__":
    app.run("0.0.0.0", debug=True)
- Create a subdirectory in the same folder called
templatesand add the following frontend code to a file calledindex.htmlin thetemplatesdirectory.
<!DOCTYPE html>
<html>
    <head>
        <title>My Books</title>
    </head>
    <body>

        <h1>Add a book</h1>
        <form method='POST' action='/'>
            <input type="text" name="book">
            <input type="submit">
        </form>

        <h1>Books</h1>
        <ul>
        {% for book in books %}
            <li>
            {{book.title}}
            </li>
        {% endfor %}
        </ul>
    </body>
</html>
Install dependencies and run the app
- In your terminal, install the Python dependencies by running the following (you will need
psqlinstalled locally):
pip3 install psycopg2-binary flask
- Now run the development server with:
python3 app.py
Test your app
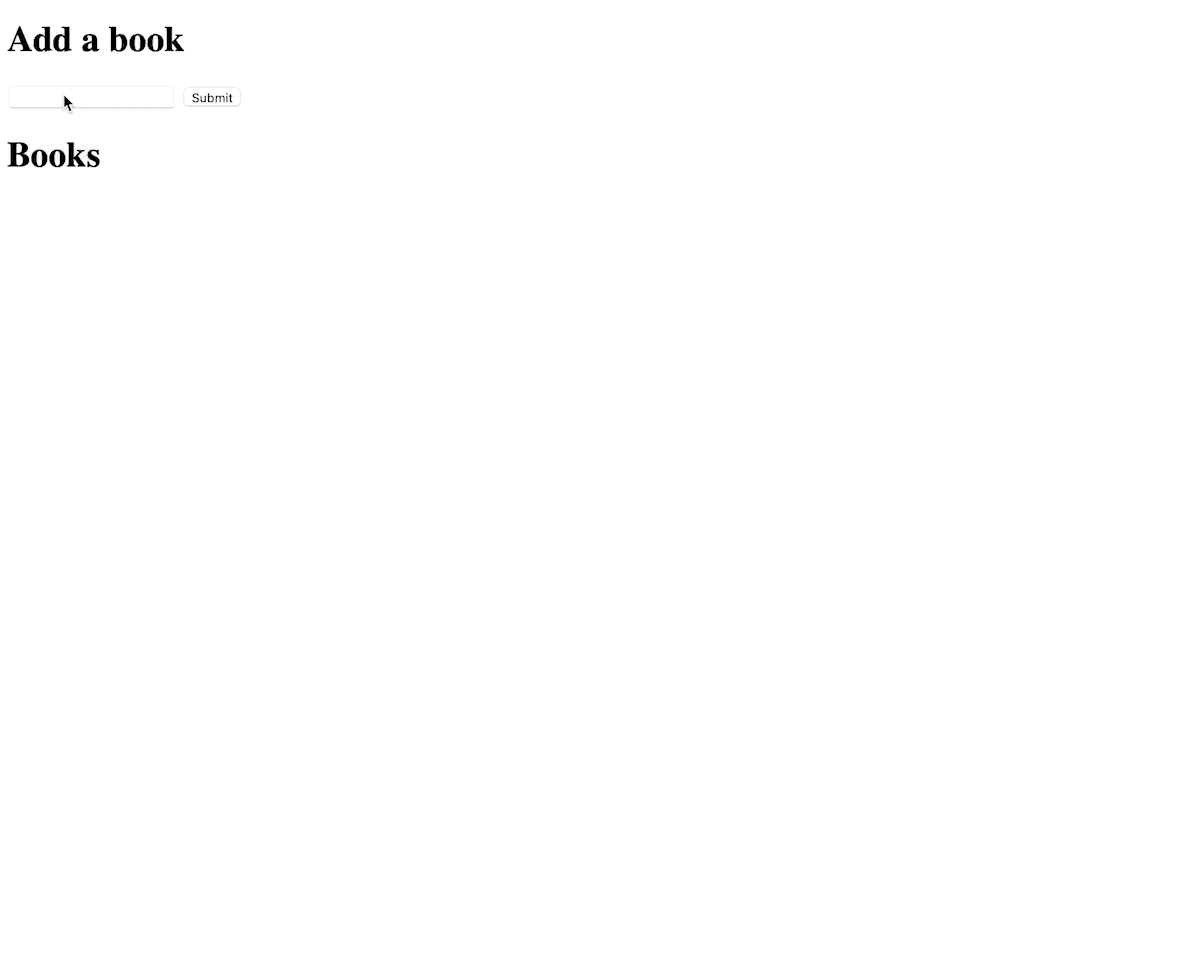
Visit https://localhost:5000 in your browser. You should be able to add books and view the books you've added, as shown below.
That's it
You have a fully functioning web application with a reliable and cost-effective database server. Neon isn't just a replacement for your existing database host or local Postgres set up though: it does a lot more besides. See Neon.tech for more information.